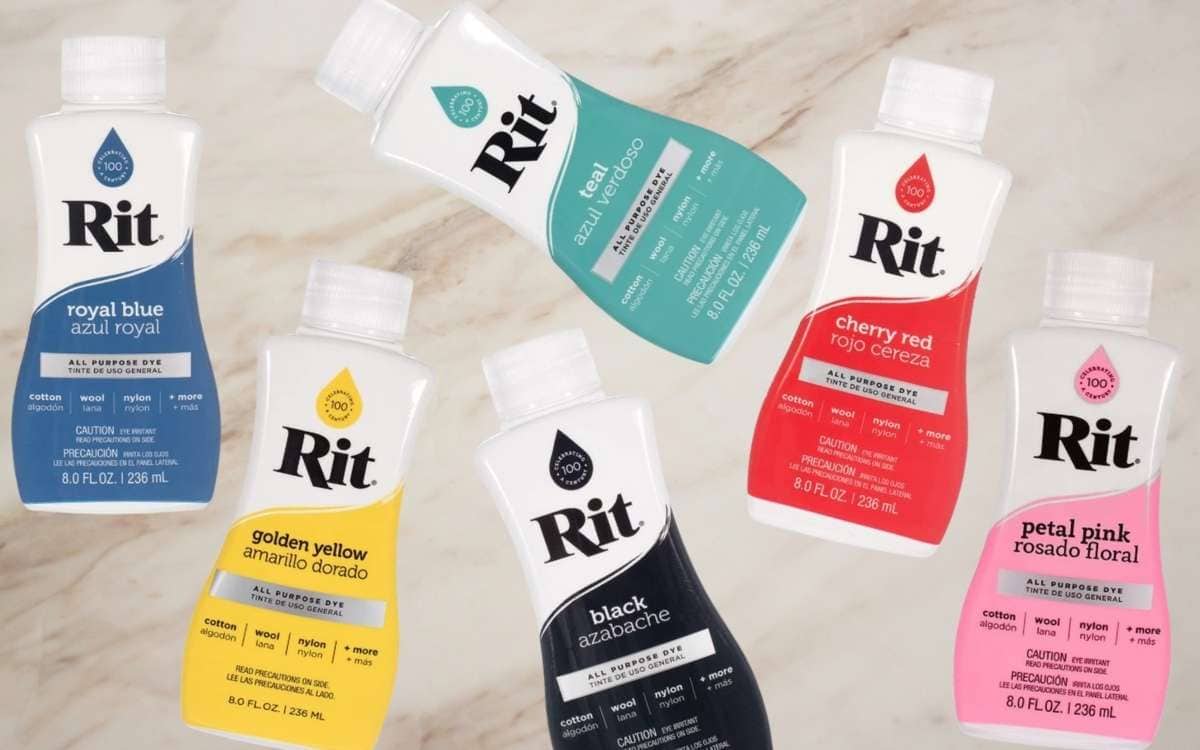
Rit dye is a classic choice for dyeing fabrics and many of us may remember using it during our school days or for making tie-dyed shirts in buckets.
But can you actually use RIT dye in the washing machine?
The answer is yes! This method is great for large items or if you want to dye a lot of fabric at once. It’s also relatively easy and only requires a few supplies that you may already have around the house.
Read on to learn how to dye your clothes in the washing machine, as well as tips and tricks for getting the best results.
Is it Safe to Use Rit Dye in the Washing Machine?
The short answer is yes, it is safe to use Rit dye in the washing machine. However, if you’ve never used this method before, you may have some reservations.
Luckily, Rit Dye is a non-staining product that won’t impart permanent colors to your stainless steel washing machine.
Additionally, it’s non-toxic, which means that it’s safe to use in your home and you don’t need to worry about ventilation or fumes.
That said, there are a few things you should keep in mind when using Rit dye in the washing machine. First, only use this method on clothes that are made from natural fibers like cotton, linen, or wool.
If you want to dye synthetic clothing, you will have to do it by hand since the dye won’t bond with the fabric in the washing machine.
Second, always test a small piece of fabric before dyeing your entire load. This will help ensure that the colors come out looking exactly how you want them to.
Finally, make sure to follow the manufacturer’s instructions carefully. Rit Dye has been around for years and they know a thing or two about how to properly use their product!
Following directions closely can help to prevent any accidents.
Benefits of Using Rit Dye in the Washer
Rit has been recommending people to use their product in the washer since the 1950s, so there is a good reason that this method is still around today.
Here are some of the main reasons households prefer to use Rit Dye in the washing machine:
Great for Large Items
If you’re trying to dye a large piece of fabric or a lot of clothing at once, the washing machine is the way to go.
You can easily fit multiple items in the washer without having to worry about them fitting in a bucket or sink.
Fewer Supplies Needed
When using Rit Dye in the washing machine, you don’t need as many supplies. All you need is a bottle of Rit dye, some salt, and your washing machine.
This can be great if you’re looking to save time or money.
Bulk Dyeing
This method is perfect for dyeing large quantities of fabric at once.
Whether you’re trying to dye a bunch of clothes for a costume party or you need to color match some fabric for a sewing project, the washing machine is up to the task.
Evenly Dyed Fabric
One of the biggest benefits of using Rit Dye in the washing machine is that it ensures your fabric will be evenly dyed.
This is because the fabric is constantly moving around in the washer and evenly distributing the dye.
It’s Easier
Many people find it easier to dye their clothes in the washing machine rather than by hand.
This method is less messy and can be less time-consuming if you’re trying to dye a lot of fabric at once.
How to Dye Clothes with Rit in the Washing Machine
Now that we’ve gone over the basics, let’s get into how to actually dye your clothes in the washing machine.
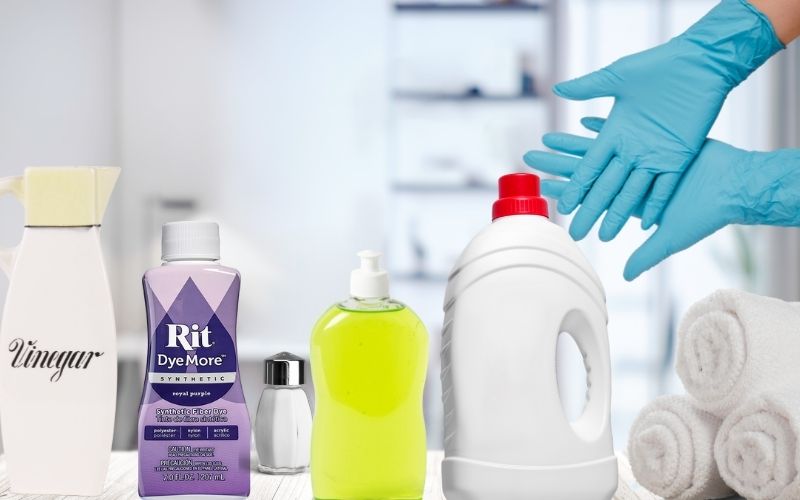
Supplies needed:
- Rit dye (in any color)
- White vinegar
- Washing machine
- Salt (for dyeing rayon, cotton, linen, or ramie)
- Vinegar (for dyeing wool, silk, or nylon)
- Plastic or rubber gloves
- Dishwashing soap
- Bleach
- An old towel
- Bucket or container for mixing dye and water
1. Remove Stains
It’s important to remove any stains from your clothing before you begin the dyeing process. The dye can actually set some stains, making them more difficult to remove later on.
To remove stains, pretreat your clothing with a stain remover or dishwashing soap. Rub the stained area with a damp cloth and let it sit for about 15 minutes before laundering as usual.
Remember: The better your fabric looks before you start dyeing it, the better your finished product will look.
2. Fill Your Machine With Water
Before you add any dye to your machine, make sure it’s filled with water. The washing machine should be about one-half to two-thirds full of hot water for the best results.
3. Add Dye
Now it’s time to add your dye to the water bath. If you’re using liquid Rit Dye, shake it well so that the dye is thoroughly mixed.
If you’re using a powdered Rit Dye, add it to a container and mix with hot water until the dye is dissolved.
Be sure to wear gloves when handling the dye, as it can cause skin irritation.
Once the dye is added, stir it well so that it’s completely mixed in with the water.
4. Soak Your Fabric
Thoroughly wet the fabric that you plan on dyeing. This helps the dye to absorb evenly and results in a better-looking finished product.
5. Add Salt or Vinegar
If you’re dyeing rayon, cotton, linen, or ramie fabric, add one tablespoon of salt to the machine. If you’re dyeing wool, silk, or nylon fabric, add one cup of vinegar to the machine.
6. Add Dish Soap
You can add about 1 teaspoon of your household dish detergent to the machine. This will help to clean your fabric and remove any excess dye after the wash cycle is finished.
7. Let the Fabric Sit in the Dye
After you’ve added all of the ingredients, let your fabric sit in the dye for at least 30 minutes. This will give the color time to absorb into the fabric.
The longer time it sits in the dye, the darker the color will be. Periodically check the batch to see what color your fabric is turning.
8. Add Rit ColorStay Fixative
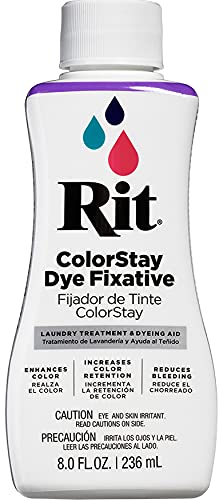
If you’re using Rit Dye, you can add a ColorStay fixative to help the color set better.
This is an optional step, but it’s recommended if you want your fabric to retain its color for a longer period of time.
9. Wash Your Dyed Clothes
Now the dyeing process is done and you’re ready to wash your newly colored clothing. Be sure to use a mild detergent and warm water.
10. Clean Your Washing Machine
Once you’re finished dyeing your clothes, it’s important to clean your washing machine. This will help to prevent any accidental staining or color transfer.
To clean your machine, add one or two cups of bleach to the washer and run a cycle on hot water. You can include some old towels to help absorb any leftover color. Be sure to wipe the inside of the machine with a damp cloth afterward.
Final Thoughts
Now you know how to use Rit Dye in the washing machine without any fuss. Just be sure to follow the steps carefully and take precautions to protect your hands and clothing.
Happy dyeing!